
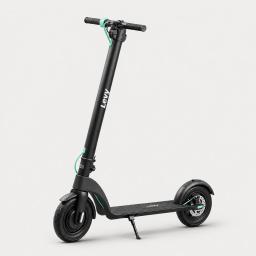


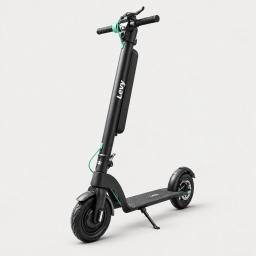



Unlock Your Electric Scooter's Full Potential: Removing the Speed Limiter
Unlock your electric scooter's increased speed capabilities by following this guide on how to remove the speed limiter. Note that removing the limiter may void warranties and violate local regulations.
If you are looking to get more speed from your electric scooter, you may have considered modifying or removing its speed limiter. The speed limiter on an electric scooter is designed for safety reasons and to comply with local regulations. Although it might be tempting to remove it, doing so could be dangerous, void warranties, or break the law in your area. However, if you still wish to proceed, follow these steps:
- Gather necessary tools: You will need a screwdriver, pliers, and possibly a soldering iron if the scooter uses a wired connection for the speed limiter.
- Locate the speed limiter: This can be challenging as manufacturers often hide the limiter in different places. Consult your scooter's instructions or search for specific information about your model online.
- Disconnect the limiter: Once located, you may find a connector or wires leading to the circuit board. Disconnect the connector, or in the case of wired connections, use a soldering iron to desoldering the wires carefully.
- Test your scooter: Turn your scooter on and test its speed to ensure it's functioning correctly. Do this in a safe, controlled environment.
- Reassemble your scooter: Once successful, reassemble your scooter and ensure all parts are in their rightful place.
It is essential to understand that modifying an electric scooter in this way can have consequences, including potential accidents and legal issues. Always check your local laws and consider safety aspects before proceeding with this modification.